Adding Data to Projects
The Organizer dialog contains a number of tabs — Objects, Screenshots, Sessions, and Others — to help organize projects. You can add data to a project in a number of ways, including:
- By dragging a selected item or items from the Data Properties and Settings panel or from your file explorer into the Organizer's saved data list.
- By dragging the Camera
 icon from a view to add a screenshot directly to the saved data list.
 - By choosing File > Save Session to Organizer on the menu bar.
Whenever you add data to the Organizer, you can tags to each item to facilitate searching.
- Do one of the following:
- Create a new project and make that project the current project (see Creating Projects).
- Open a saved project (see Opening Saved Projects).
- Select the required tab in the Organizer — Objects, Screenshots, Sessions, or Others.
- Add data to the current project as follows:
- Drag-and-drop a selected item or items from the Data Properties and Settings panel to the saved data list.
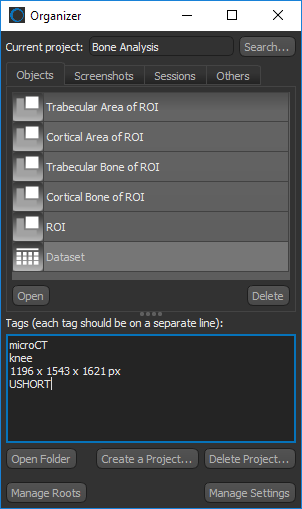
NOTE Image stacks will appear as a one-line item in the Organizer's saved data list.
- Drag-and-drop the Camera icon from a view to add a screenshot directly to the saved data list. You can enter a description for the screenshot in the Screenshot dialog before it is added to the project.
- Choose File > Save Session to Organizer to save the current session to the saved data list.
- Drag-and-drop items, such as CSV files, PDFs, and videos, from your file browser to the saved data list.
- Drag-and-drop a selected item or items from the Data Properties and Settings panel to the saved data list.
- Add tags to each data item, recommended.
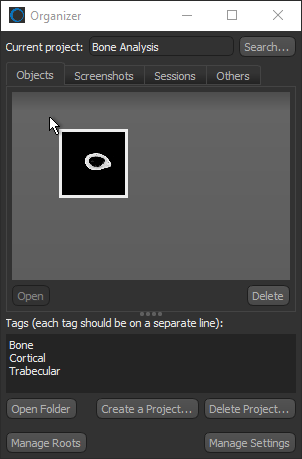
To add a tag, selected the required item in the Save data list and then add the required tags in the edit box, as shown below.
Each tag you add should be on a separate line.
- Open the required project (see Opening Saved Projects).
- Select the required tab in the Organizer — Objects, Screenshots, Sessions, or Others.
- Select the item or items that you want to delete.
- Click the Delete button at the bottom of the Saved data list.